Mastering AWS Systems Manager: A Practical Guide
AWS Systems Manager offers an integrated interface that consolidates operational data from a range of AWS services, thereby enabling users to monitor and manage their resources effectively. The service is designed to cater to a variety of operational needs, from infrastructure management to security compliance, making it an indispensable tool for IT administrators and DevOps teams.
Key Features and Benefits
1. Enhanced Visibility
One of the standout features of AWS Systems Manager is its ability to provide a unified view of operational data. This visibility spans multiple AWS services, allowing administrators to see critical information about their infrastructure in one centralized location. This holistic view simplifies monitoring and troubleshooting, as it eliminates the need to navigate through various dashboards and interfaces.
With AWS Systems Manager, you can quickly identify performance bottlenecks, configuration issues, and potential security vulnerabilities, ensuring your systems run smoothly and efficiently. The service integrates with AWS CloudWatch and AWS Config, providing comprehensive insights into the operational health and compliance status of your resources.
2. Automation Capabilities
Automation is a core component of AWS Systems Manager, designed to save time and reduce human error by automating repetitive tasks. Users can create automation documents, also known as runbooks, to automate common operational procedures, such as applying operating system patches, deploying applications, and managing configuration changes.
Automation not only enhances operational efficiency but also ensures consistency in the execution of tasks. By using predefined templates and custom scripts, organizations can enforce best practices and standardize processes across their AWS environments. This is particularly useful in large-scale environments where manual management would be impractical and error-prone.
3. Resource Grouping
Effective resource management often requires organizing resources in a way that reflects the structure and needs of your applications. AWS Systems Manager allows you to group resources by categories such as application, environment, or any other criteria relevant to your operations.
This grouping functionality simplifies the management of large numbers of resources by enabling bulk actions and streamlined workflows. For instance, you can apply configurations, execute commands, or gather metrics for a specific group of instances with a single action. This approach not only saves time but also ensures consistency and reduces the risk of configuration drift.
4. Security and Compliance
Maintaining secure configurations at scale is a significant challenge for any organization. AWS Systems Manager addresses this challenge by providing tools to help ensure your infrastructure complies with security policies and industry standards.
I have previously written extensively about AWS Systems Manager and you can find it here. Today we will be taking a practical look into AWS Systems Manager.
Working With AWS Systems Manager
Task 1: SSM Installation On EC2 Instances
The SSM agent is responsible for facilitating running commands or scripts on individual instances or groups of instances simultaneously. This allows for tasks like software installation, configuration changes, and security patching to be automated and executed efficiently.
The good news is that some AWS EC2 AMIs have the SSM agent pre-installed. Here is a list of AMIs that come with the SSm agent pre-installed. We'll be using a combination of Ubuntu and Amazon Linux Instances. Since they already have the agent installed, all we need to do is just to launch these instances.
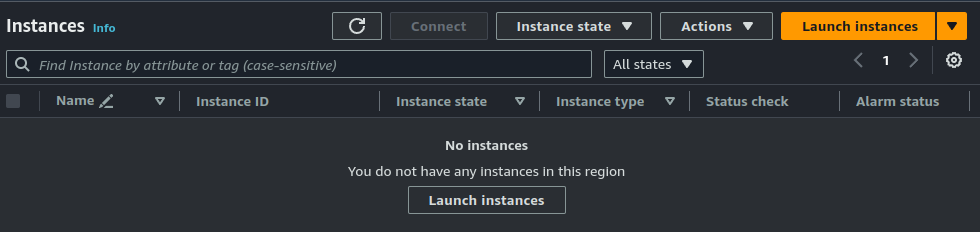
On the EC2 console, click on "Launch instances".
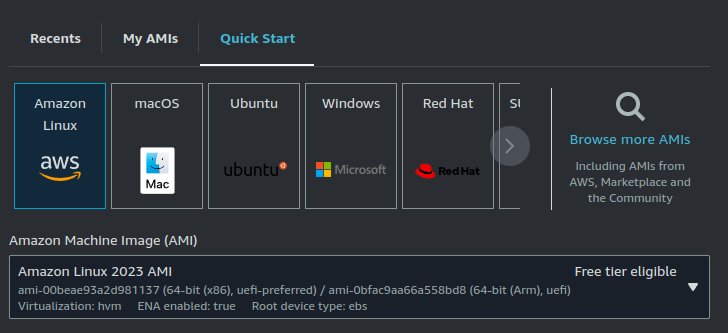
Here I am using Amazon Linux 2023 AMI.
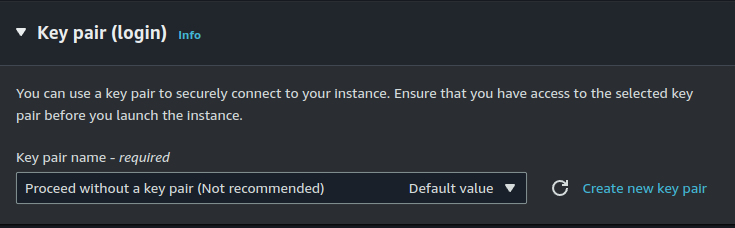
Make sure NOT to attach a key-pair to your instance.
You can also see that my security group does not allow SSH traffic, only HTTP. This is because we will be using a feature of AWS SSM called Session Manager to connect to our instances instead.
Set the number of instances to 2.
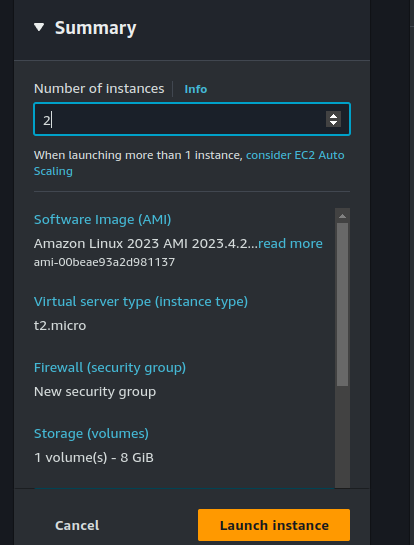
Click on "Launch instance".

Task 2: Create An Instance Profile
AWS Systems manager wil not be able to connect to the agent on our instances unless it has the necessary permissions.
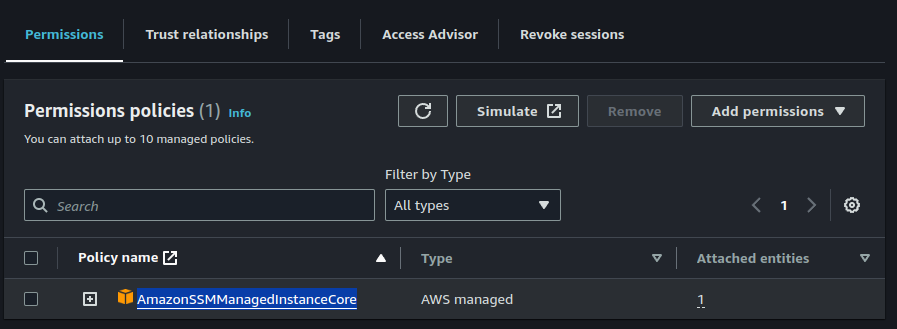
On the IAM Console, click on "Roles" > "Create Role".
Attach a policy named "AmazonSSMManagedInstanceCore" to the role.
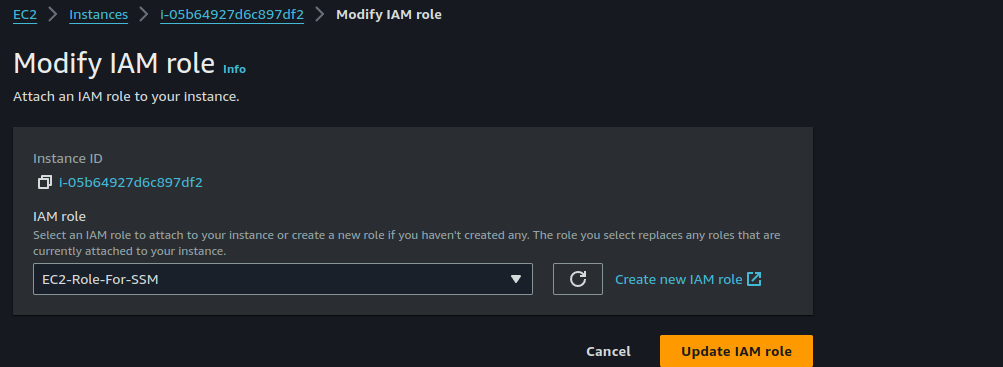
Back on the EC2 instance, we must attach this role to our instances.
Select the first instance, click on "Action" > "Security" > "Modify IAM Role"
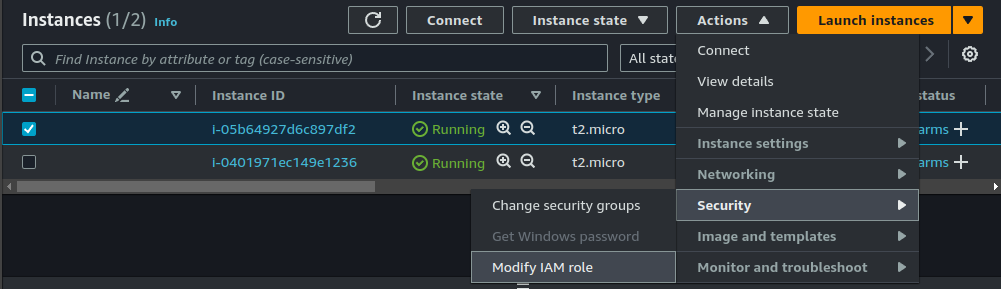
Select the Role you just created and click on "Update IAM Role".
Do the same for the other instance.
Task 3: Manage Instances With Fleet Manager
Fleet Manager simplifies managing groups of resources by allowing you to apply configurations, patches, and automation workflows to entire fleets at once.
Now, we ought to have attached our IAM profile to the instance during launch, and because we didn't our instances won't show up in Fleet Manager since the SSM agent presumably failed to boot up. To remediate this, we will have to reboot our instances.

After reboot is complete, go to the SSM Console, scroll down to the "Node management" section and click on "Fleet manager".
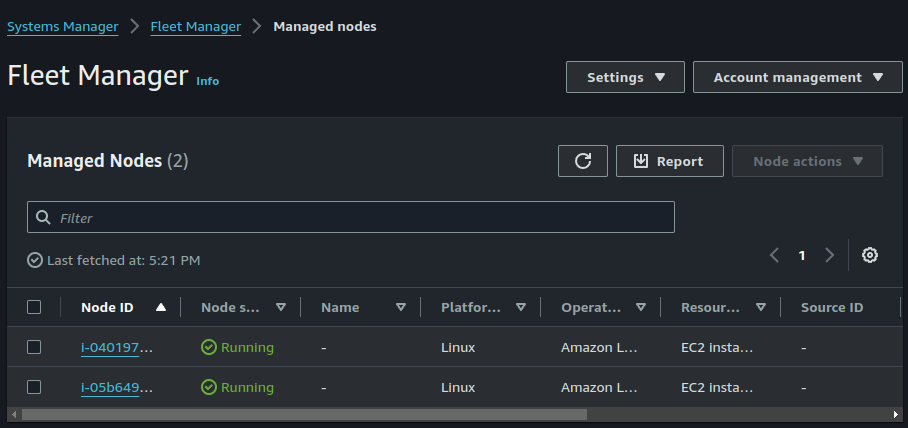
We can now manage our instances from here and perform tasks on our instances like automatically updating the SSM agent or changing instance tier settings.
Task 4: Create A Resource Group
An AWS Resource Group is a collection of AWS resources that are all in the same AWS Region, and that match the criteria specified in the group's query. It is important to note here that Resource Group is a seperate service of its own and does not fall under AWS SSM suite of services.
We will be utilizing resource groups to group our instances into "Dev" and "Prod" groups. This will come in handy for production scenarios where we want to group instances based on environments.
Select the first instance, click on tags > "Manage tags". Assign a tag of "Environment = Dev".

Do the same for the other instance but the value of "Environment" should now be changed to "Prod".
On the Resource Group console, click on "Create Resource Group"
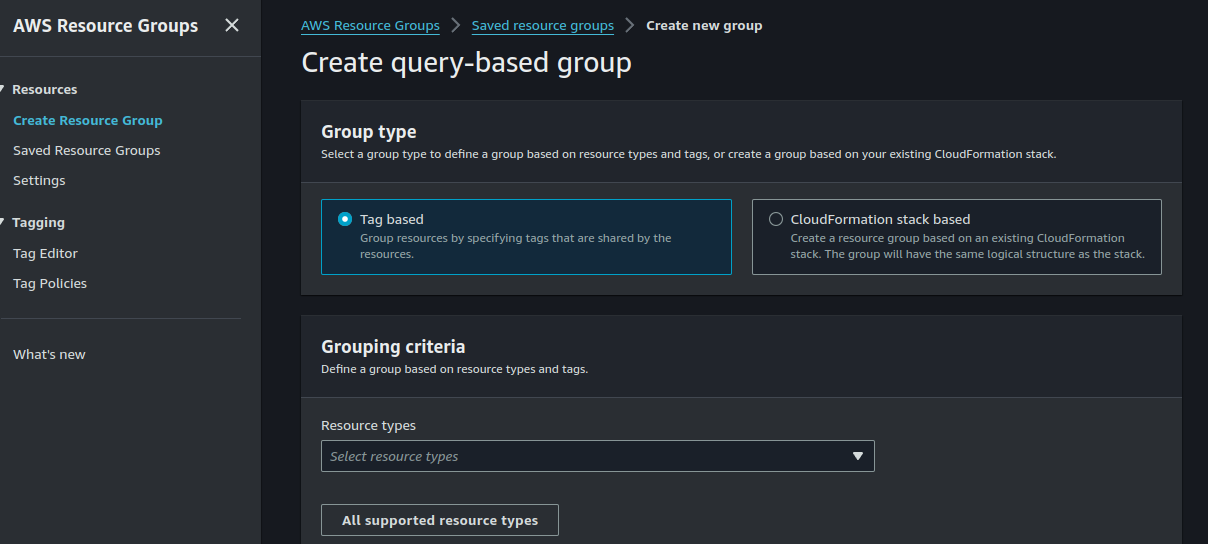
Your Group Type should be "Tag based". Select "AWS::Ec2::Instance" under Grouping criteria and the choose "Environment = Dev".
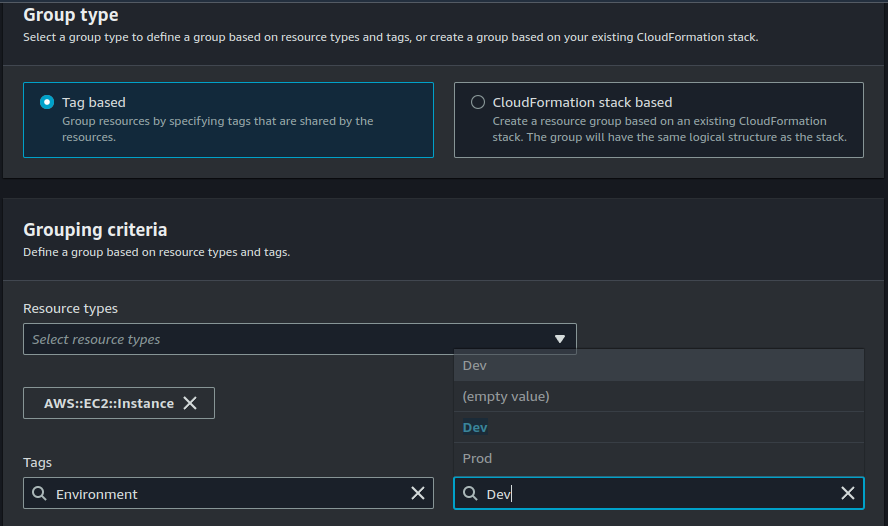
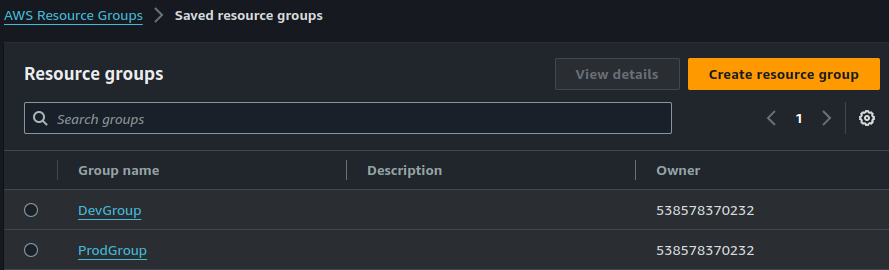
Group name should be DevGrop.
Click on "Create Group"

Repeat the steps above for a second group you will name "ProdGroup". This time select "Environment = Prod".
Task 5: Create An SSM Document
An SSM document is a pre-defined document that specify the commands to be executed on your managed instances. AWS offers various pre-built documents for common tasks like installing software, running scripts, or checking system status. You can also create custom documents for your specific needs.
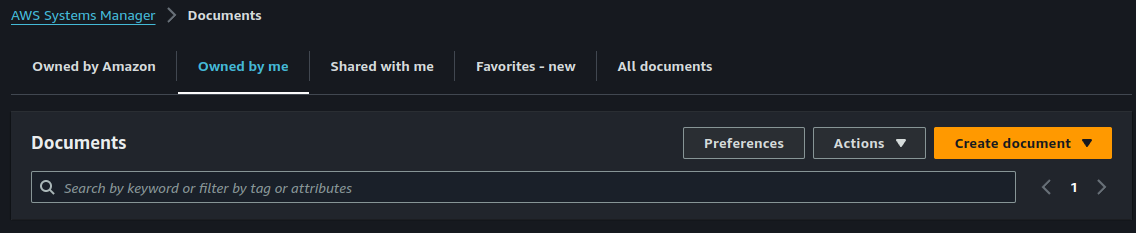
On the "shared resources" section of the SSM console, click on "Documents".
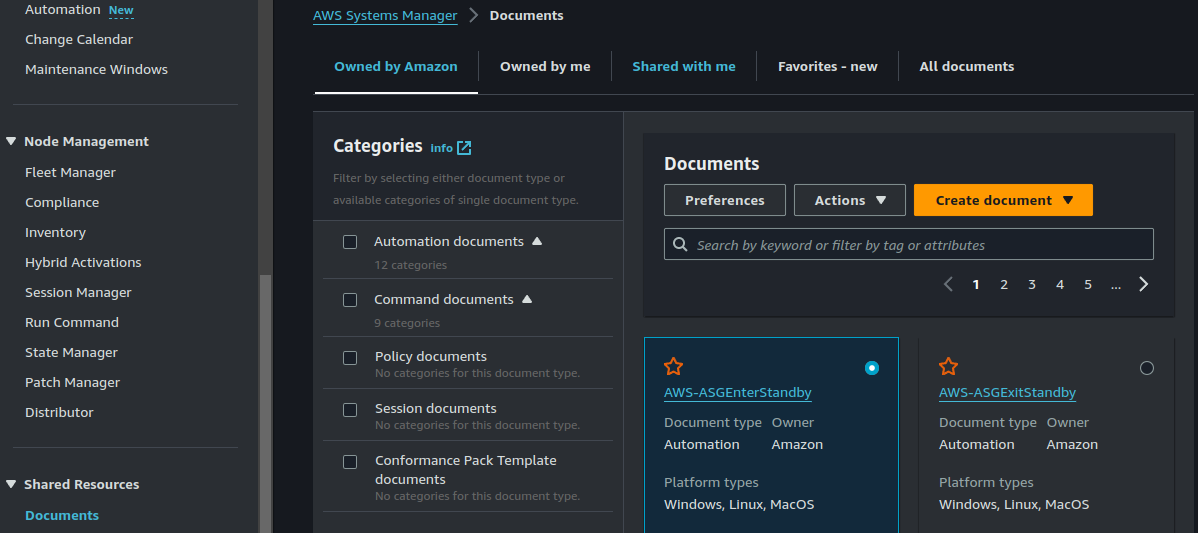
There are different categories of SSM doucments and you can find out more about them here. Here we are interetsed in Command documents. Command documents are used by SSM Run Command to automate common administrative tasks and perform one-time configuration changes on your managed nodes at scale.
On the "Owned by me" section, click on "Create Document". Select "Command or session".
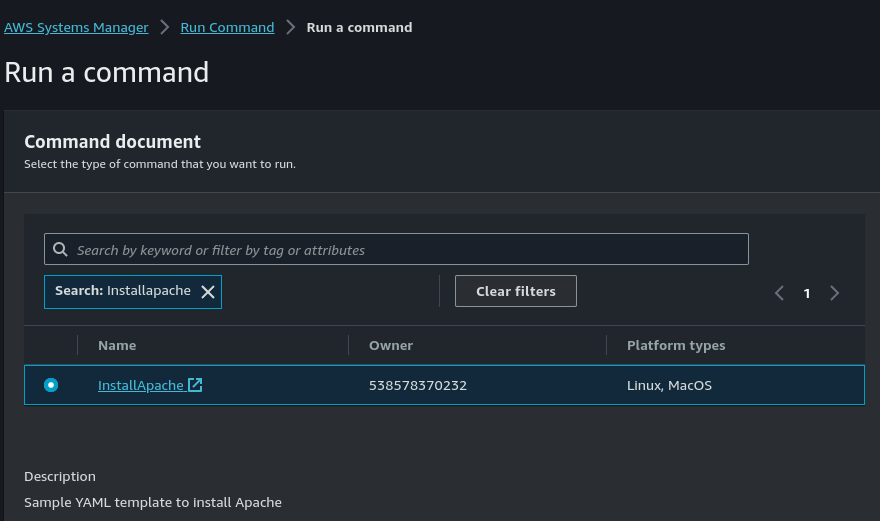
Give a name to your document, make sure your target type is "/AWS::EC2::Instance". Document type should be "Command".

Select the YAML format for content and then enter the following:
---
schemaVersion: '2.2'
description: Sample YAML template to install Apache
parameters:
  Message:
    type: "String"
    description: "Welcome Message"
    default: "Hello World"
mainSteps:
- action: aws:runShellScript
  name: configureApache
  inputs:
    runCommand:
    - 'sudo yum update -y'
    - 'sudo yum install -y httpd'
    - 'sudo systemctl start httpd'
    - 'sudo systemctl enable httpd'
    - 'echo "{{Message}} from $(hostname -f)" > /var/www/html/index.html'
Click on "Create Document".
Task 6: Execute SSM Run Command
Run Command allows you to remotely execute commands on your managed instances for tasks like installing software, running scripts, or troubleshooting issues.
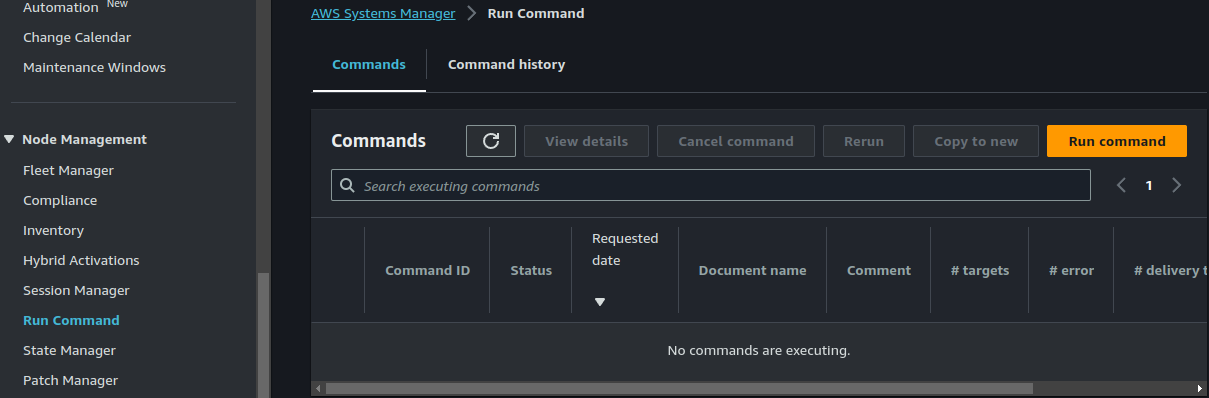
On the "Node management" section of the SSM console, select "Run Command".
Click on "Run command". Select the document we created earlier in task 5.
Go to "Target selection" > "Choose a resource group" > "DevGroup". Resource type should be "AWS::EC2::Instance".

This is going to cause our instance with the "Dev" tag (belonging to DevGroup) to be selected. SSM Run Command is going to execute this document on our instance with the help of the SSM agent running on the instance.
Leave everything as default and click on "Run".
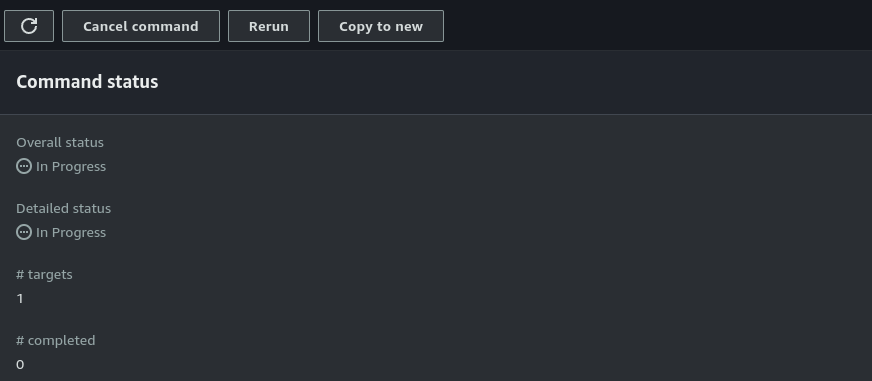
As you can see, we have only one target, which is the instance with the "Environment = Dev" tag.
Once the Run Command succeds, visit the IP of the instance on port 80 and you should be able to see something like this:

Task 7: Connect To Your Instances Using SSM Session Manager
SSM Session Manager provides secure and auditable remote access to your managed instances for troubleshooting and maintenance tasks. This is a better way of accessing your EC2 instances that using SSH. With Session Manager, there is a clear and auditable trail of all activities during each session, thus providing more security.
On the "Node Management" section, click on "Session Manager".
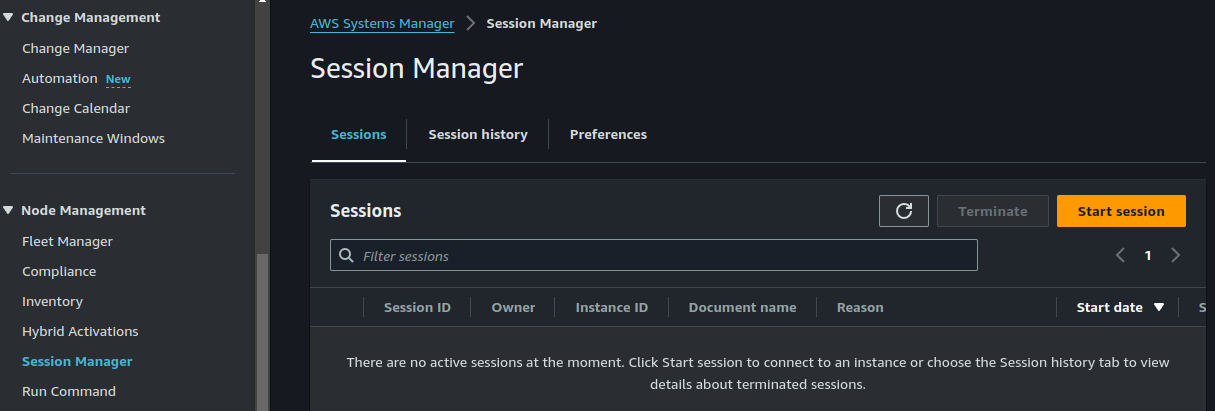
Click on "Start Session".
Choose any of the target instances and click on "Start session".
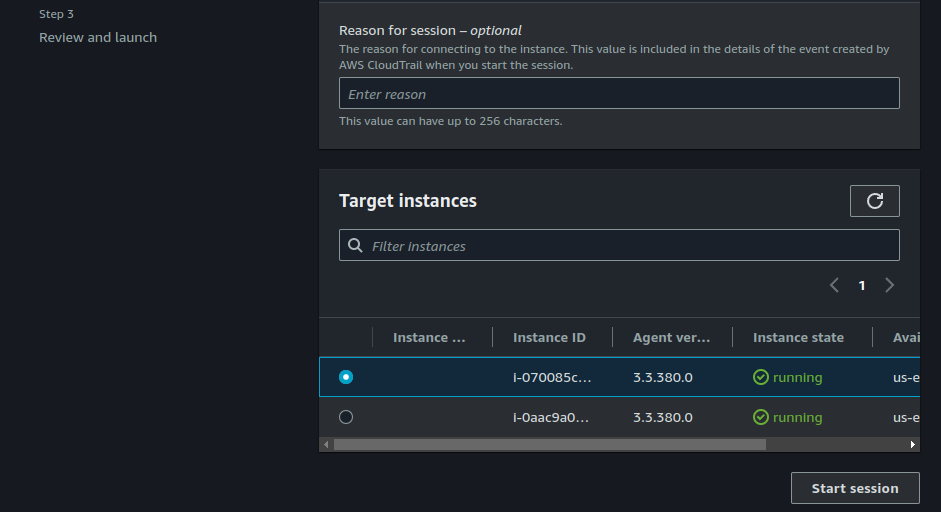
As you can see below, I am now able to connect to and administer my instances with Session Manager.

Task 8: Create An SSM Runbook
An SSM runbook, also referred to as an Automation Document in AWS, is essentially a recipe for automating tasks within your AWS infrastructure. It defines a sequence of steps that are executed one after another. These steps can involve various actions like:
- Starting or stopping EC2 instances
- Running specific commands on instances
- Installing software
- Configuring resources
Let us explore how Runbooks work;
- Create the Runbook: You define the steps involved in the task using a YAML document. There's a visual designer available for easier creation.
- Assign Permissions: An IAM role is assigned to the runbook, granting it the necessary permissions to perform the actions.
- Execution: The runbook can be triggered manually, scheduled to run automatically, or initiated by an event.
- Sequential Steps: Each step in the runbook is executed one after another. The output from one step can be used in subsequent steps.
Since Runbook needs special permissions in order to effect tasks on our resources, we'll first need to create an IAM role for it.
On the IAM Console, click on "Create Role". Select EC2 as use case (we'll change this later). Select "EC2 full Access" under permissios.
Once the role is created, click on "Trust relationships" > "Edit Trust Policy". Erase the existing Trust policy and replace it with the policy below:
{
    "Version": "2012-10-17",
    "Statement": [
        {
            "Effect": "Allow",
            "Principal": {
                "Service": [
                    "iam.amazonaws.com",
                    "ssm.amazonaws.com"
                ]
            },
            "Action": "sts:AssumeRole"
        }
    ]
}
Back on the "Change Management" section of the SSM console, click on "Automation".
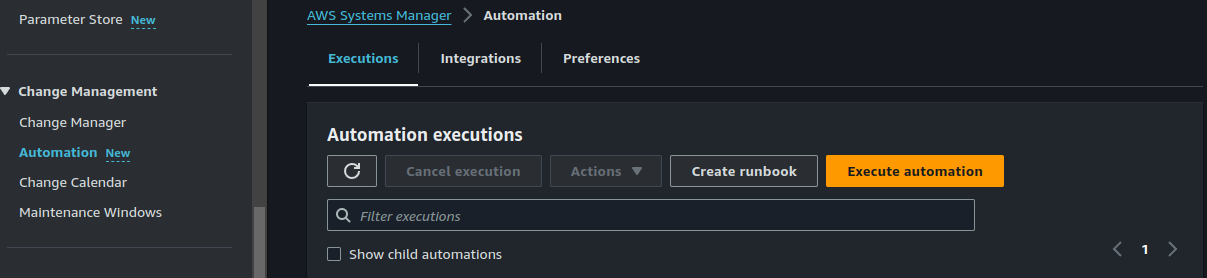
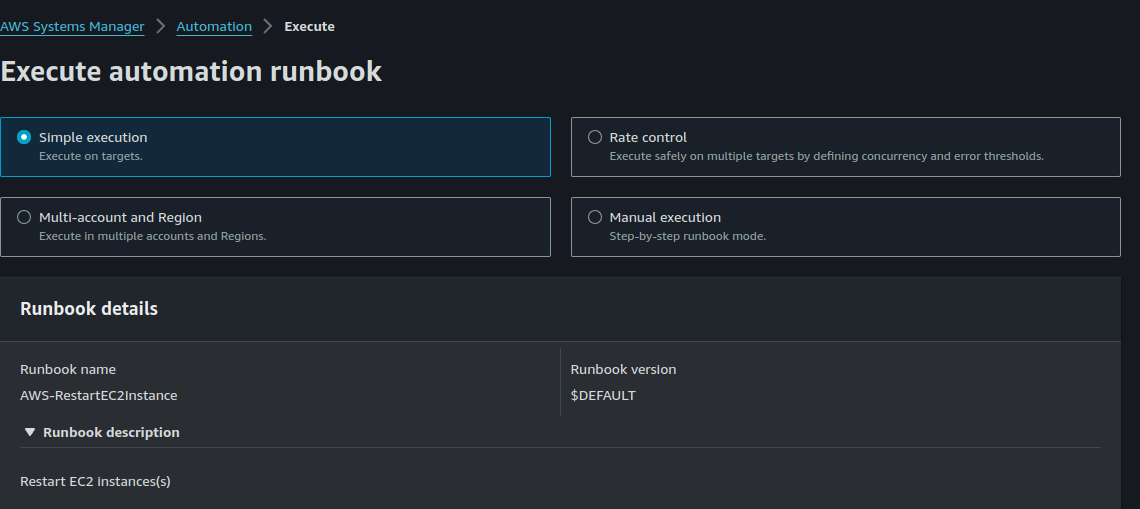
Click on "Execute Automation". Select the "AWS-RestartEC2Instance" Runbook.
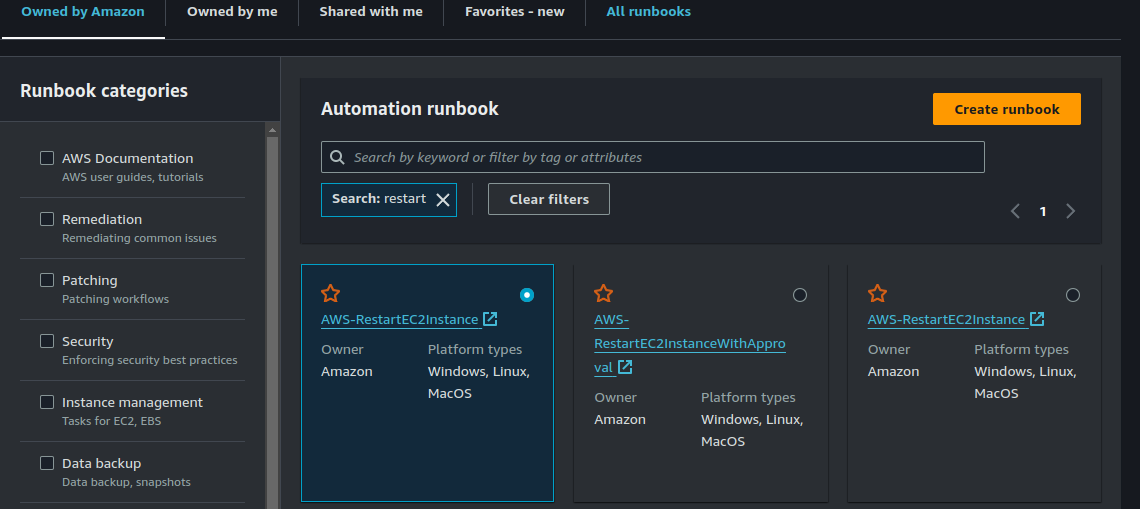
Scroll down to the botton of the page and click on "Next".
There are different strategies of executing your runbook. I will choose "simple execution" for this demonstration.
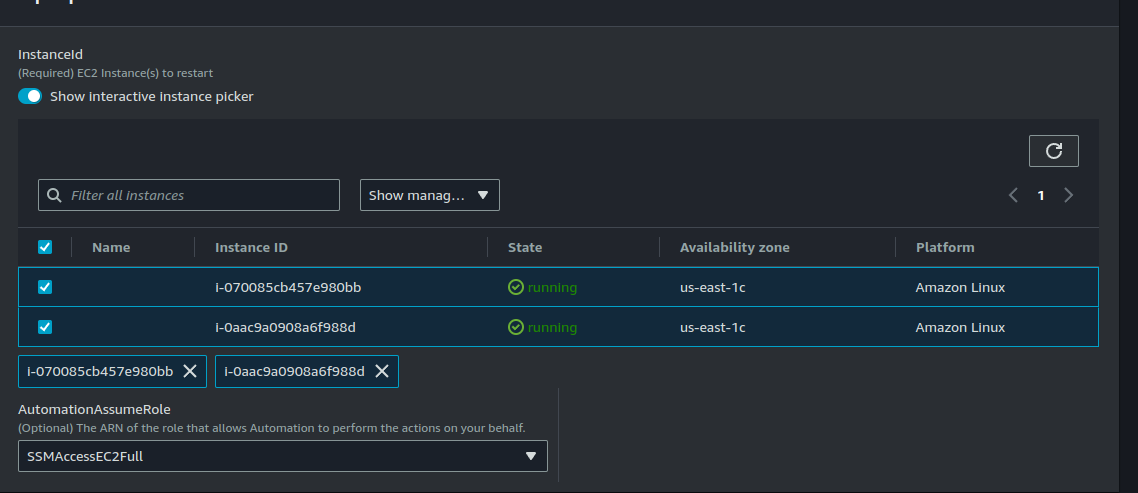
Scroll down to "Input parameters". Select your instances and also select the IAM role you have previously created.
Click on "Execute".
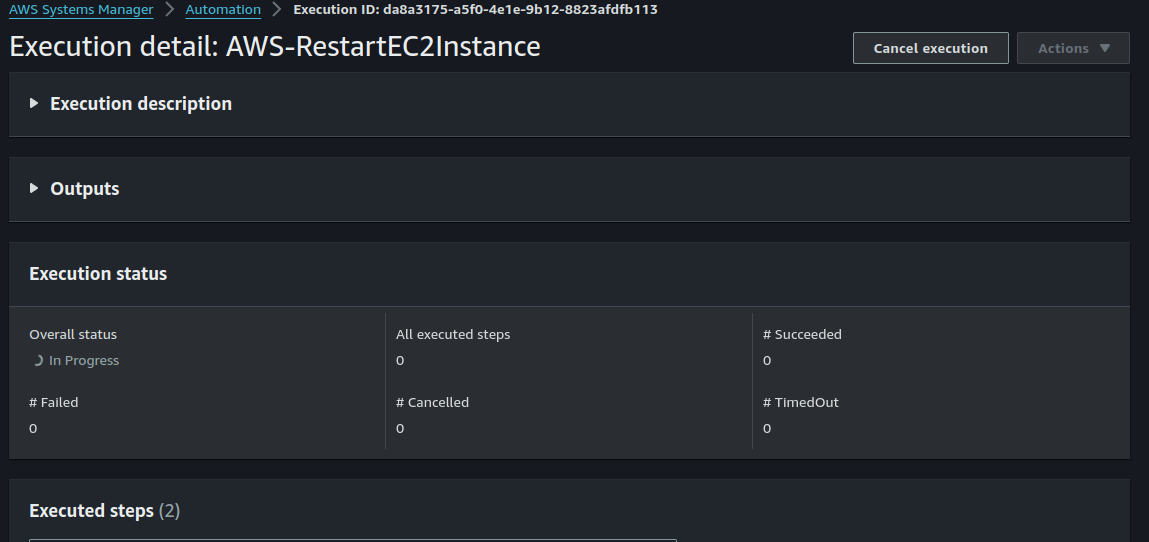
By the time the execution is complete, your EC2 instances will have been restarted.
Final Thoughts
AWS SSM Manager offers a robust and efficient way to manage your entire AWS infrastructure from a central location. By leveraging SSM Run Command, Fleet Manager, Automation Documents, and Session Manager, you can automate routine tasks, manage your instance fleet seamlessly, streamline configuration management, and gain secure remote access to your instances – all from a single, intuitive AWS console. For those seeking to optimize their AWS environment for automation, cost-effectiveness, and security, AWS SSM Manager is an invaluable service. Start exploring SSM Manager's potential today and unlock the power of centralized infrastructure management within the AWS cloud!
Happy Clouding !!!
Did you like this post?
If you did, please buy me coffee 😊
No comments yet.